Applying custom routes for articles in Nuxtjs
In this article, we will learn how to apply custom routes in both mechanisms of Server-side Rendering and Static Site Generator in Nuxtjs, generating an identifier for the article and embed it in the URL.
Bài viết này có phiên bản Tiếng Việt

With the growth of phishing links, users will get in the habit of checking the link before making decision whether to visit the website or not. Therefore, most of newspaper websites or blogs will embed the article’s title in the URL, which helps users understand the content overview and increases the consistency and credibility of the article.
However, it’s not really a good method because when the title is updated, the link to that article will change, which makes the previous link inaccessible, causing discomfort to users. It’s a waste of time and effort when you have to send the new access link to your users, and also update all articles that linked to the renamed one.
Configuring custom routes for article has become almost a must-have feature because of its flexibility and user-friendliness. To solve this problem, we can apply the method of generating an identifier for the article and embed it in the URL.
With the use of identifiers, when the title is changed, the website can still display the correct article even if users access from the old link. In this article, we will learn how to apply custom routes in both Server-side Rendering and Static Site Generator in Nuxtjs.
Create the project
If you already have a project and just want to learn how to apply custom routes, you can skip this part.
The article only focuses on setting up custom route for the article, it will not guide specifically how to create a Nuxtjs project. If you're just starting out, you can get started here.
After creating the project, we proceed to create some articles stored in the content/blog folder. The file is saved in markdown format, and the file name will be a unique identifier of the article. In fact, articles will be created/edited using CMS tools such as Netlify, Hugo or Wordpress.
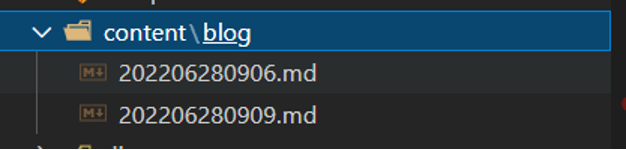
Here is the simple format of the markdown file:
---
title: Apply custom route for blog in Nuxtjs
subtitle: Subtitle
---
Content
We will use the Nuxt Content library to read the article file in markdown format, starting by importing the library into the project:
yarn add @nuxt/content
Then add the @nuxt/content library to the “modules” configuration in the nuxt.config.js:
{
  …
  modules: \[
    '@nuxt/content'
  ],
  …
}
Create a page for an article
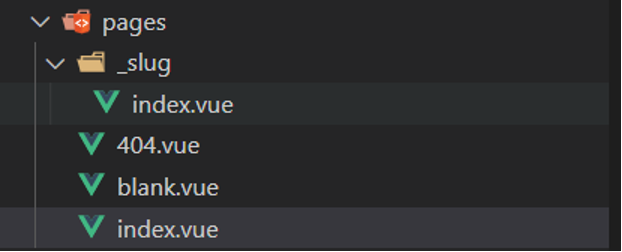
Create the page file at pages/_slug/index.vue, where the slug is the link associated with the article:
On the article page, we proceed to get the article identifier and download the content in the asyncData() function:
async asyncData({ $content, params }) {
  // Get post ID from slug
  const postID = params.slug.split('-').pop()
  // Fetch post content
  const post = await $content('blog', postID).fetch().catch(_ => {})
  return {
    post
  }
}
The next thing is to check if the identifier is valid and update the URL if necessary:
async mounted() {
  // Check if post is exist or not
  if (!this.post) {
    window.location.replace('/404') // Navigate user to 404 page
  } else {
    // Create slug from post ID and post title
    const postID = this.$route.params.slug.split('-').pop()
    const urlTitle = this.post.title
      .toLowerCase()
      .replace(/ /g, '-')
      .replace(/[^\w-]+/g, '')
    const slug = `${urlTitle}-${postID}`
    // Check if the slug is the same as current slug
    // If not, update the current url
    if (slug !== this.$route.params.slug) {
      // Call pushState() to prevent page reload
      window.history.pushState('', '', slug)
    }
  }
},
Few more steps to render the web page:
<template>
  <div>
    <h1>{{post ? post.title : ''}}</h1>
    <h2>{{post ? post.subtitle : ''}}</h2>
    <nuxt-content :document="post" />
  </div>
</template>
So we have created a page for the article with a custom route based on the article’s title. You can conduct a test run with the command yarn dev or the combination of yarn build and yarn start. If we omit a few header characters from the URL, the site will correct itself, and if we change the post identifier, we will be redirected to a 404 page.
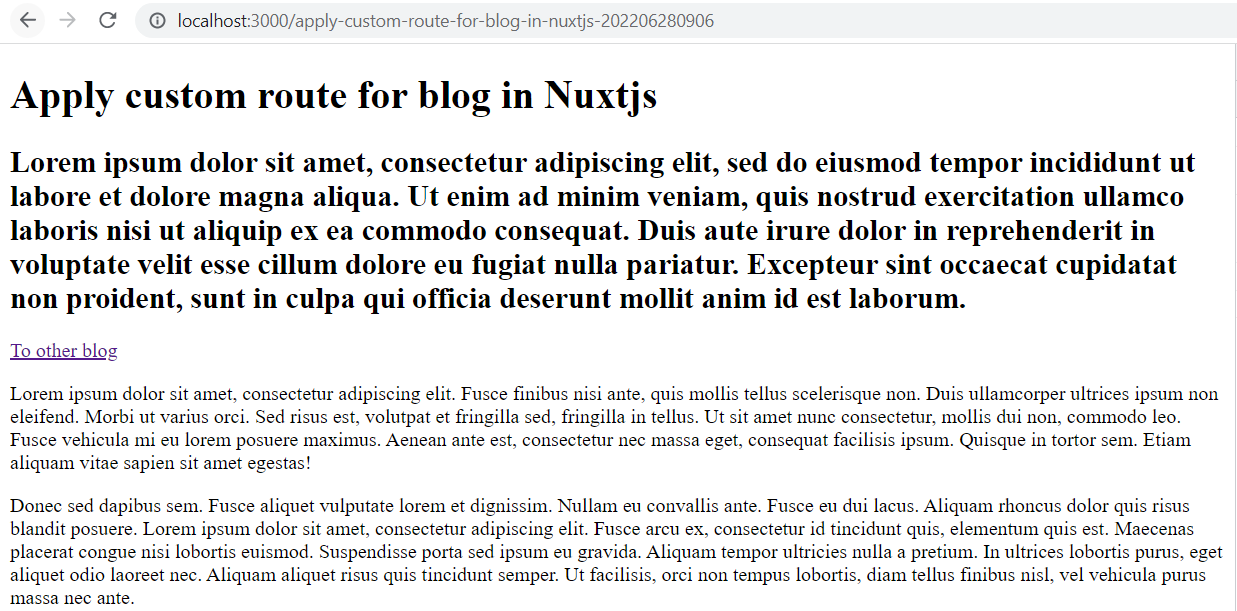
We can see that it works pretty well in Server-side Rendering mechanism.
Applied in Static Site Generator (SSG)
If your website is built based on Static Site Generator mechanism, the first thing we need to do is create the URL for each article, then Nuxtjs can make it available during the static web generating process.
In the nuxtjs.config.js file:
…
target: 'static', // Activate full static mode
generate: {
  async routes() {
    const { $content } = require('@nuxt/content')
    // Fetch all posts with only Post ID (slug) and title
    const files = await $content('blog').only(['slug', 'title']).fetch()
    // Return list url of posts
    return files.map(
      file => `/${file.title.toLowerCase().replace(/ /g, '-').replace(/[^\w-]+/g, '')}-${file.slug}`
    )
  },
  crawler: false
},
…
After running the command yarn generate, the website will be built and stored in the dist folder.
During the web hosting process, there will be a situation where the site will be returned to the 404 page when the user enters some wrong characters in the address bar, even though the article identifier is still correct. This is not Nuxtjs's fault. It’s because the host tool only maps URLs to directory URLs in dist, and returns a 404 page if no matching file or directory is found.
To fix this problem, it depends on the web hosting tool that we are using. Here is one of the ways:
- Initialize a blank page with empty content.
- Configure the proxy of the host tool to redirect to this page when the link is not matched with the file/folder in the host folder.
- In this blank page, check if the article is valid or not. If yes, it redirects to the article page. If not, it returns to 404 page.
Here is an example when hosting a website with http-server. Let’s assume we create a blank page as pages/blank.vue.
The content of pages/blank.vue:
<template>
  <div></div>
</template>
<script>
export default {
  name: 'BlankPost',
  async mounted() {
    // Extract post ID , Ex: "http://localhost:8080/blank/?%2F-fake-202206280909" => "202206280909"
    const postID = this.$route.fullPath.split('?').pop().replaceAll('%2F', '').split('-').pop()
    // Fetch post content
    const post = await this.$content('blog', postID).fetch().catch(_ => {})
    // Check if post exist
    if (post) {
      // Redirect to post page
      const urlTitle = post.title
        .toLowerCase()
        .replace(/ /g, '-')
        .replace(/[^\w-]+/g, '')
      const slug = `${urlTitle}-${postID}`
      window.location.replace(`/${slug}`)
    } else {
      // Redirect to 404 page
      window.location.replace('/404')
    }
  }
}
</script>
Start hosting the website and checkout the page by running these commands: yarn generate, cd dist and http-server -P http://localhost:8080/blank?.
Wrap up
Now we know how to apply custom routes for articles using Nuxtjs, which helps users access to an article or blog post by the old link even if we have changed the title. It is more meaningful with kinds of live reporting because we need to change the title many times based on real-time events.
The content management part is not mentioned in this article, if you want to build a complete system, start by looking for a typical CMS tools such as Netlify CMS, Flextype or Hugo.
Hope this article helps your upcoming projects.

